How to Draw A Compass Rose
Simple directions to draw a traditional Compass Rose using vector graphics in Illustrator CS

Select the Star Tool, under the Rectangle Tool.
Create a new star, Radius 1 1", Radius 2 4", Points 4.
Set the center of the star at x 4", y 4" using the Transform window. This is the basic shape used to create the Compass Rose.

Now the Compass Rose has both primary and secondary cardinal points.

Make 3 more 8" long lines, at 45 degrees, 90 degrees, and 135 degrees, each centered at 4" x, 4" y. These are the center lines for the cardinal points. This shape can now be used to make the tertiary (WNW, etc.) cardinal points in one step.

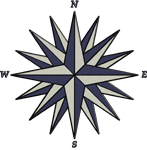
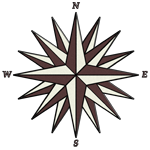
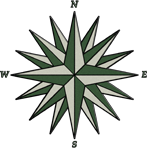
To make the traditional 3D effect for the compass rose, apply a dark color to every other section of the rose, and a light color to the others.
Click on any design
to see how it looks on apparel and other
merchandise from
CafePress.com.

