These
directions make a 3'x1.5' planter, about 12" deep, with handles on the
side and rails on the bottom to facilitate moving by hand or pallet
jack. The size of the planter can be easily adjusted by changing the
size and/or number of the boards to suit your needs and resources. An
11"x17" poster printed with these instructions is available here.
 Tools and Materials for Planter
11 36" 1x4s
6 18" 1x4s
7 18" 2x2s
2 22" 2x2s (or 2 more 18" 2x2s)
1 lb 1.5" or 1.75" nails
6 finishing nails
Carpenters hammer
Tools and Materials for Liner
2 33 gallon trash bags
Staple guns
3/8" staples for gun
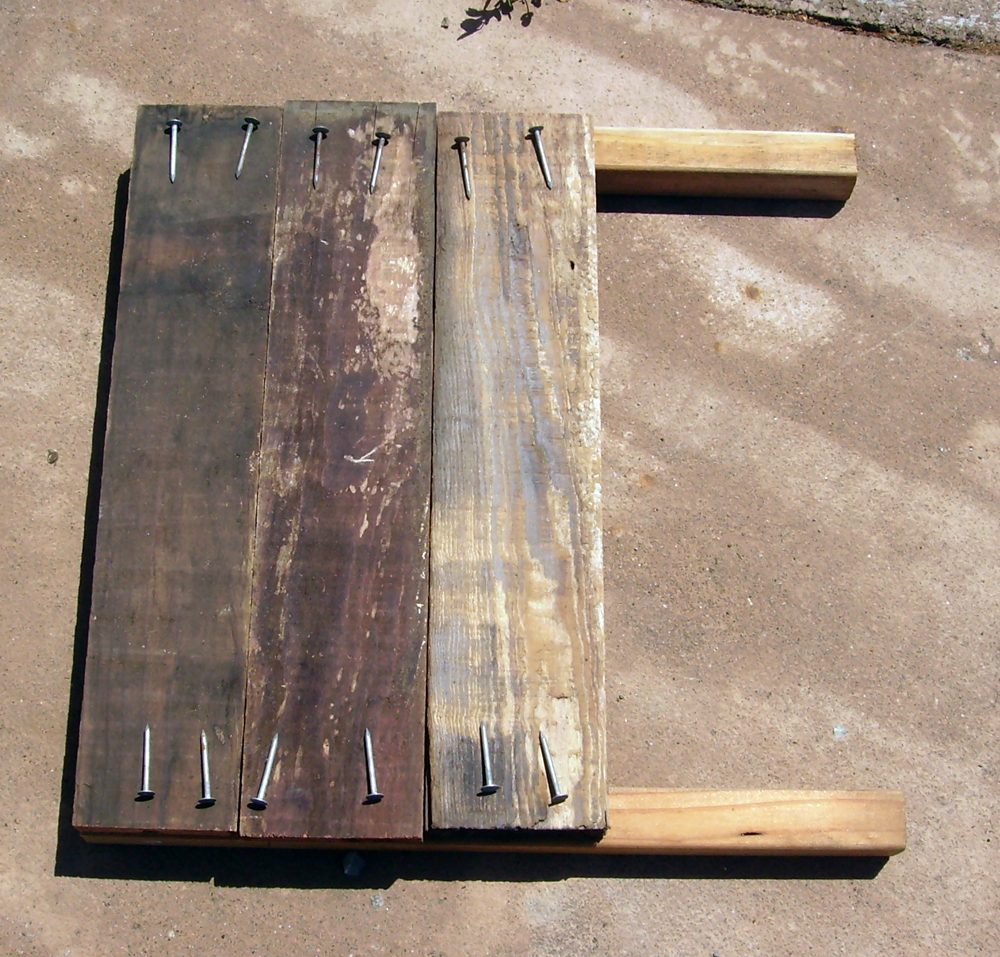 To Make Planter Ends
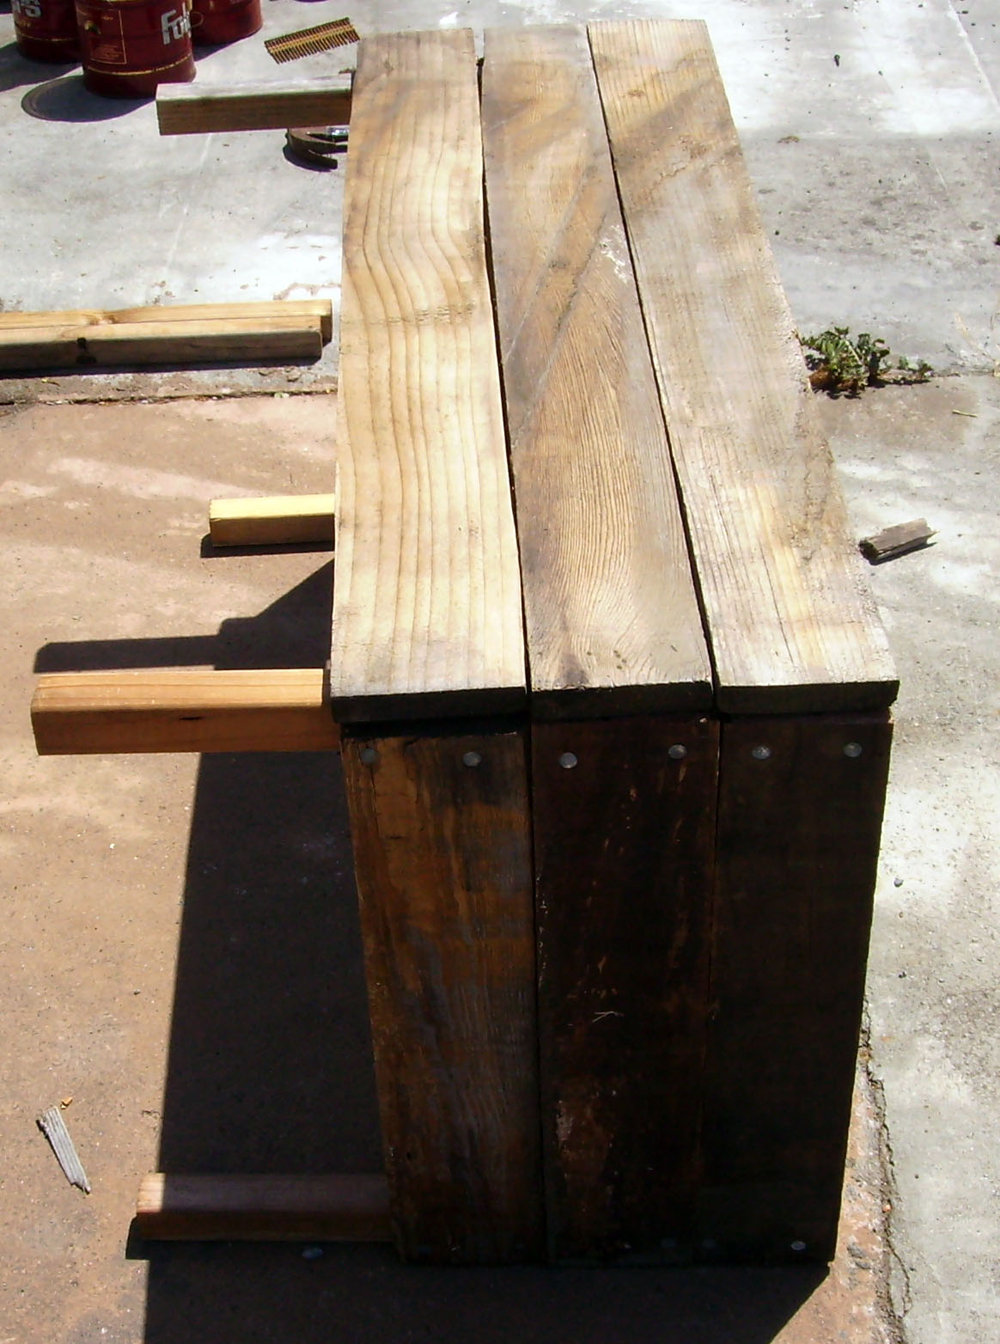
Place 2 18" 2x2 under 3 18" 1x4s as shown in picture to left.
Use two nails in each end of each board spacing nails 2" apart and 1" from top and bottom, as shown.
Repeat for other end.
 To Make Planter Sides
Balance ends of planters on their sides.
Place 3 36" long 1x4s on the ends
Adjust so the ends of the sides line up with the end boards.
Nail in place as above, lining up nails in side boards with nails in end boards.
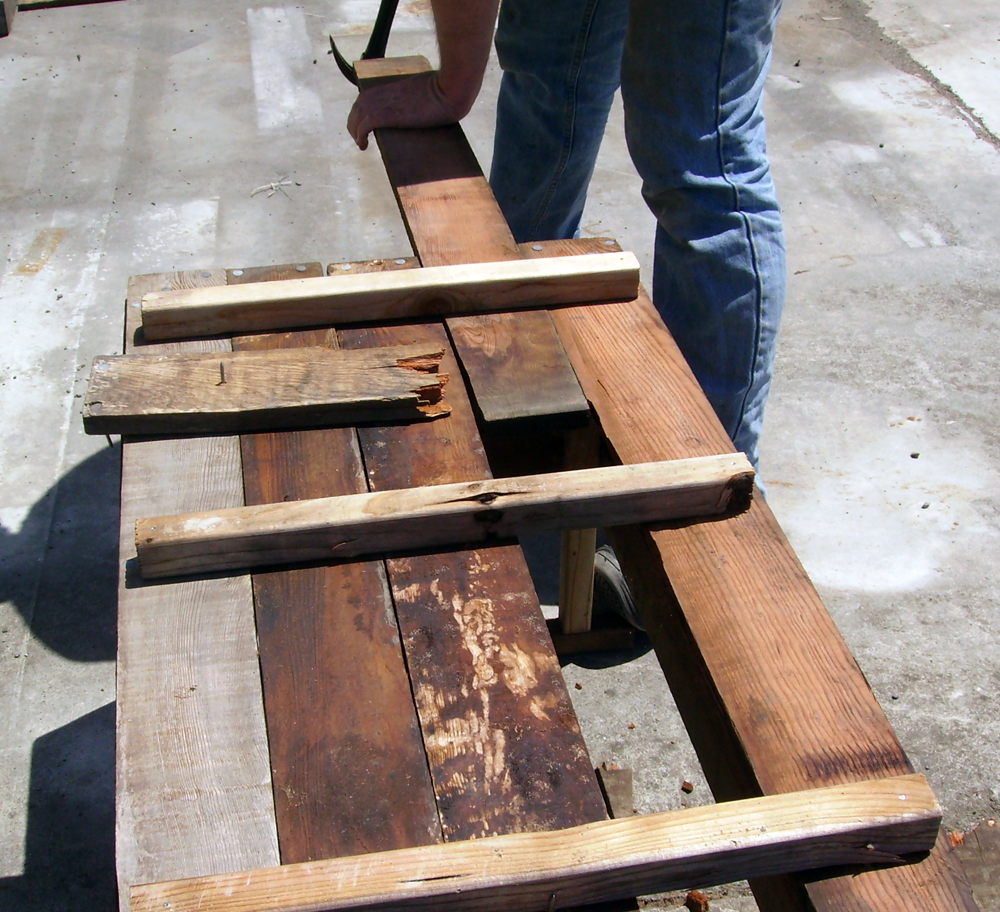
Use a board under the ends of the 2x2s to stabilize the assembly of the second side.
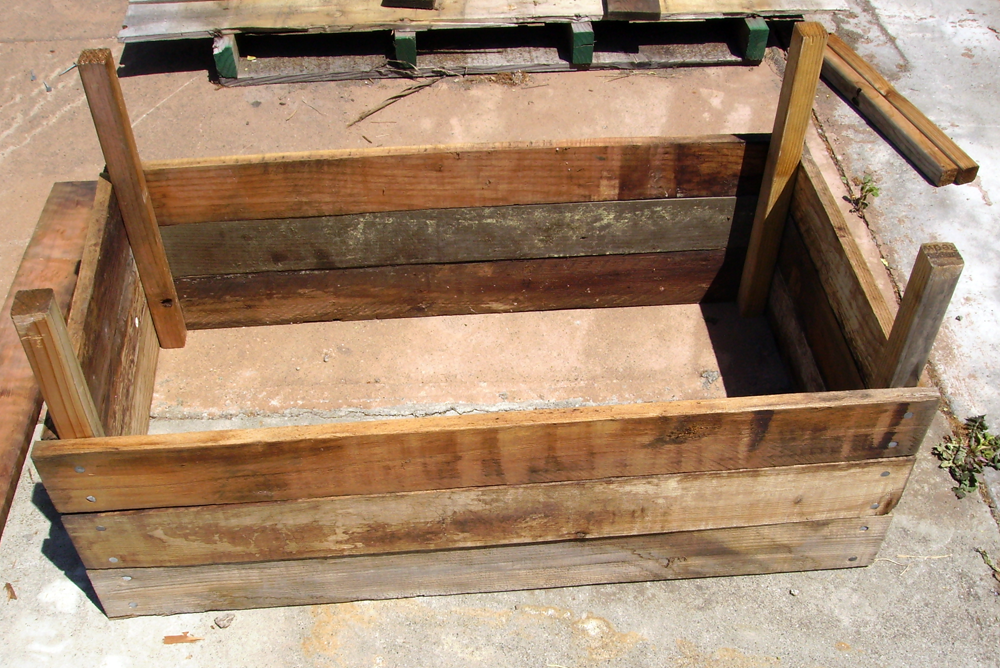
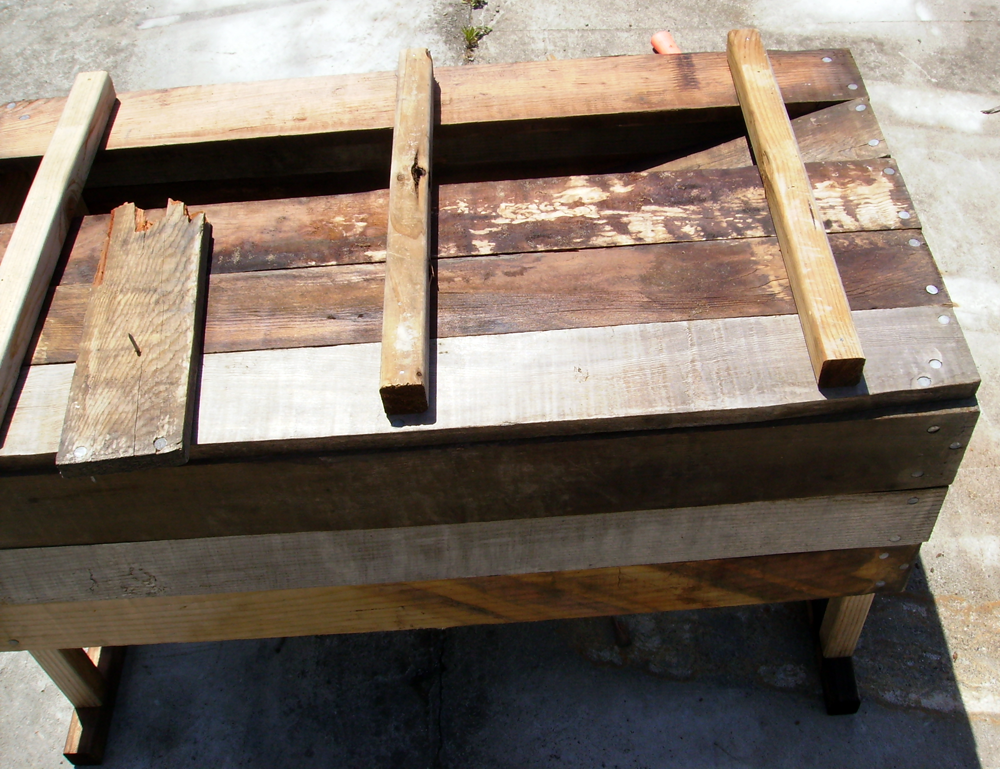
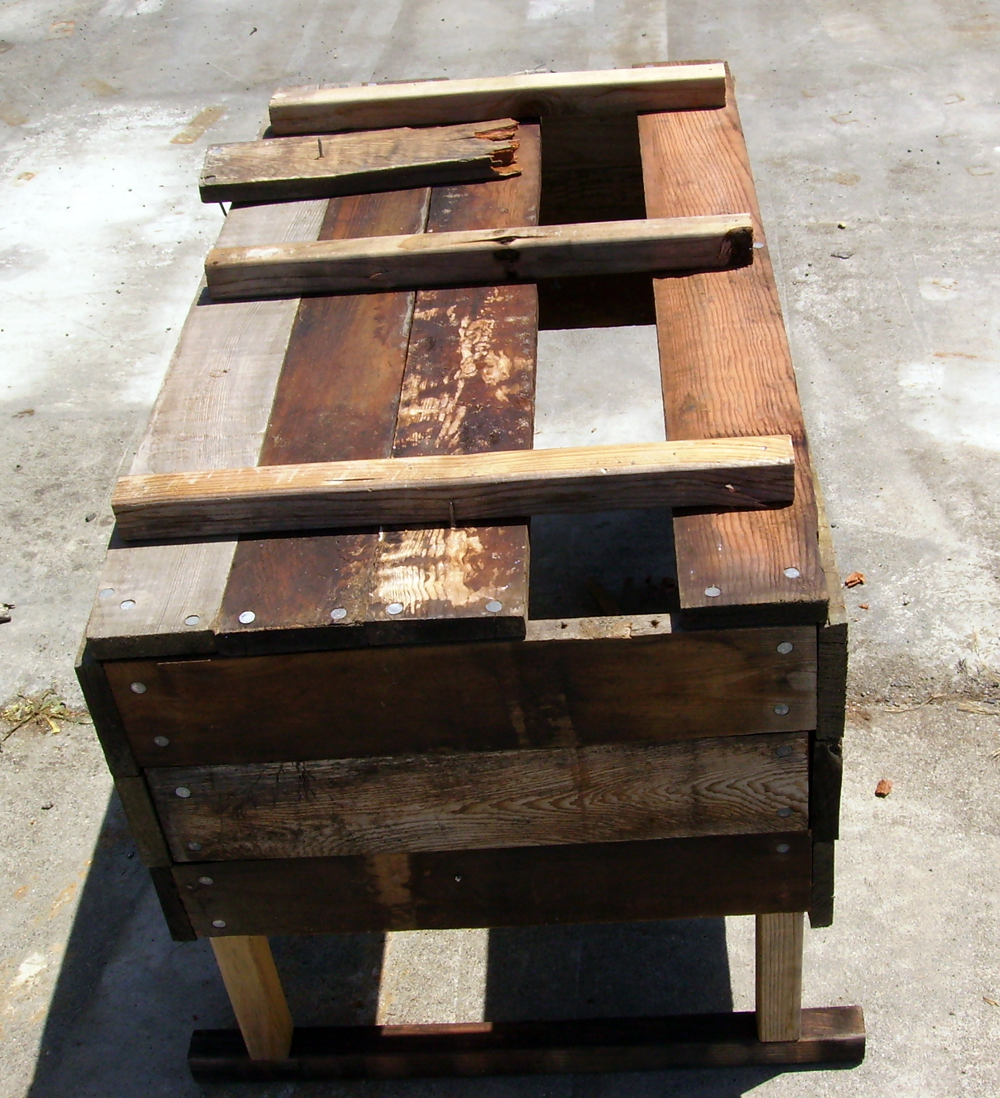
Your planter should now look like this.

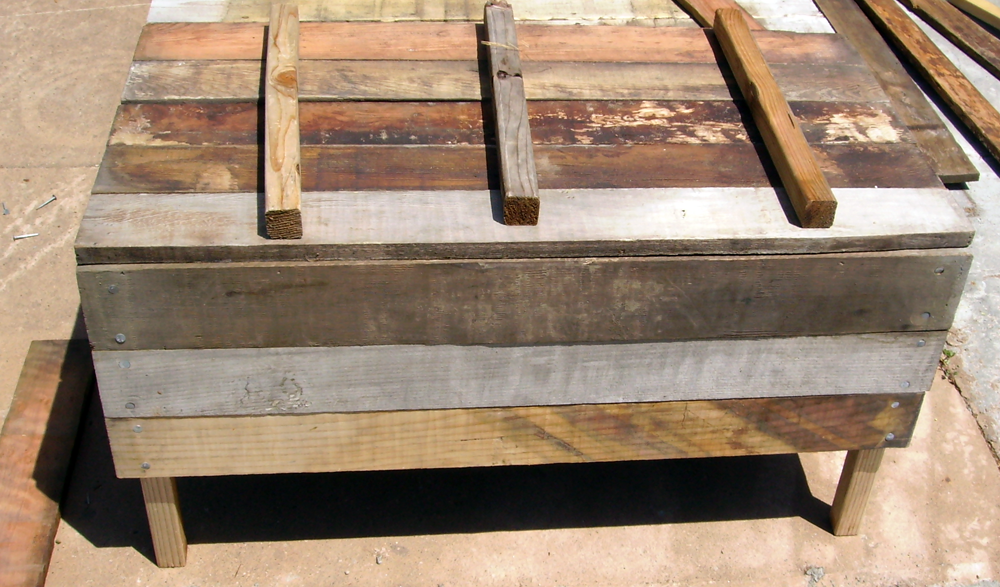 To Make Bottom of Planter
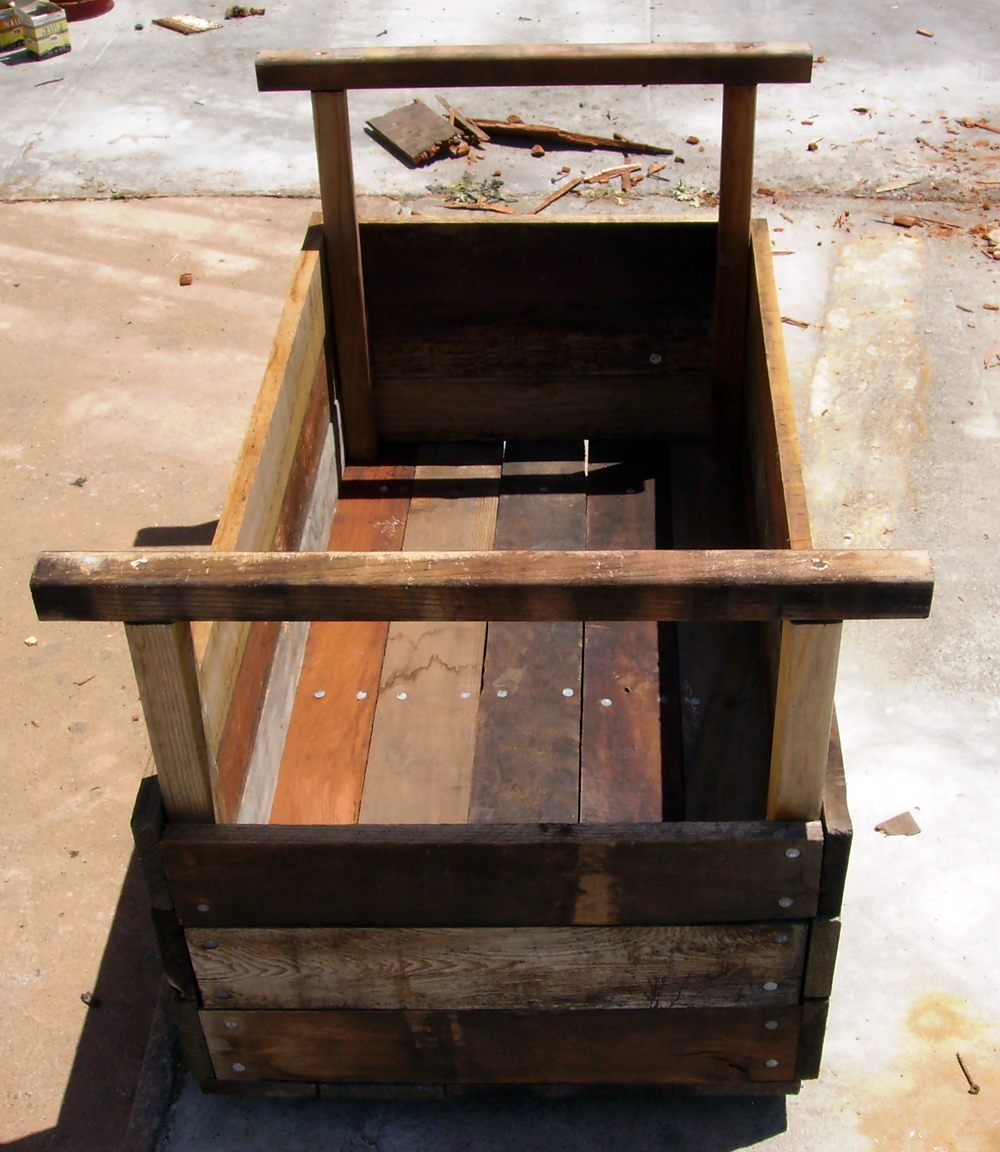 Adding Handles